
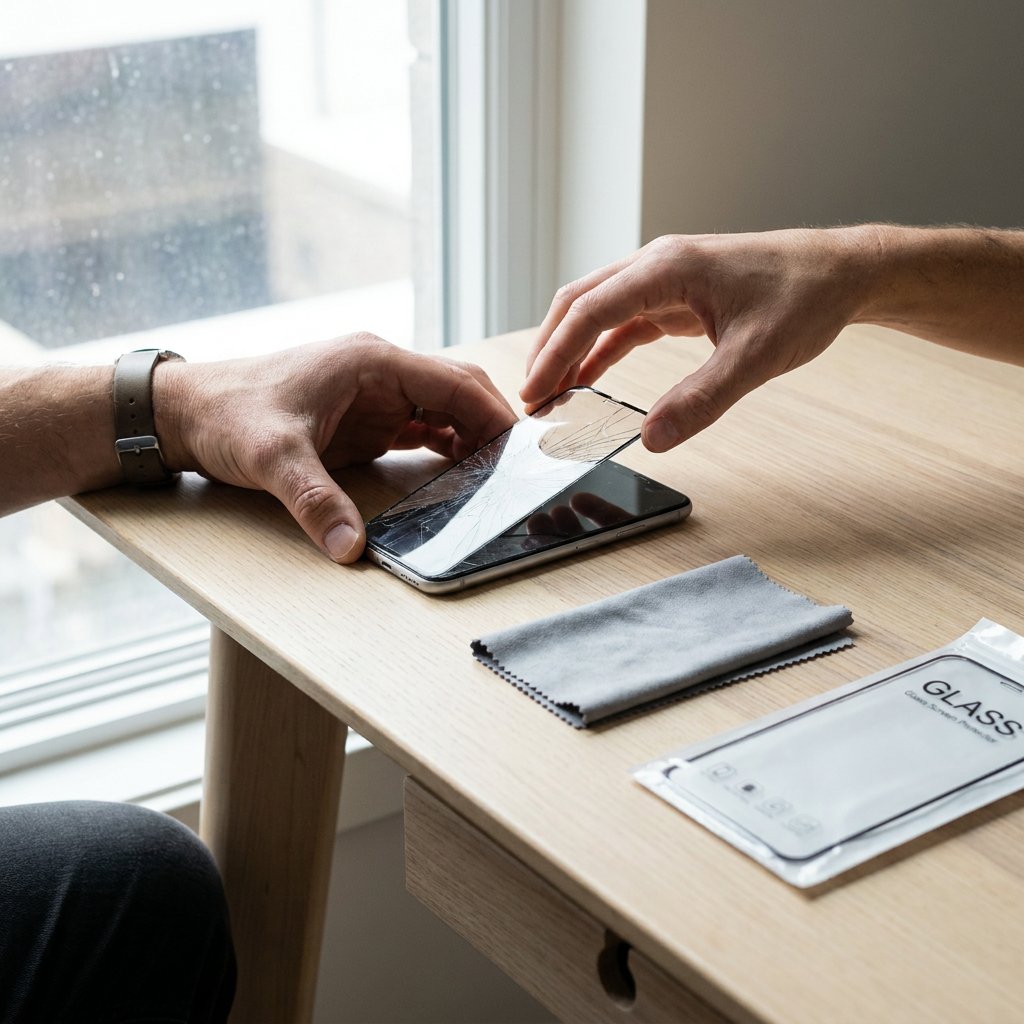
A screen protector does not have to be completely shattered before replacement is the sensible choice. If you see cracks, lifting edges, persistent air bubbles, or notice that the touchscreen responds less smoothly, the layer is no longer protecting as intended. The safest approach depends on the type of protector and screen: film protectors, tempered glass, curved edges and foldable models each require their own care. Below, you can read practical guidance on how to remove the old protector, clean the display and apply a new one correctly.
When Is It Really Time to Replace Your Screen Protector?
Replacement is advisable as soon as the protector not only looks worse, but also loses its function. Clear cracks, deep scratches, lifting corners, air bubbles that keep coming back and a dull or yellowed layer are clear signs. Functional issues also matter: less direct touch response, dust or dirt under the edges, obstruction around the camera or poorer visibility in bright light. How long a screen protector stays effective varies greatly. There is no fixed time frame. Heavy use, friction in a bag or pocket, lots of sunlight and damage from drops mainly determine how quickly replacement is needed.
Removing Your Old Screen Protector Safely in Four Steps
Use only soft tools and work without rushing:
- Take a plastic card or guitar pick, a wooden toothpick and a clean microfiber cloth. Avoid metal points or knives.
- Start at the least damaged corner or an edge that is already slightly loose. That is the safest place to make the first opening.
- Carefully slide the card under the edge and peel the protector away slowly and evenly in one direction. Do not bend it or force it.
- Then first wipe the screen clean and dry with the microfiber cloth, and only after that decide whether extra cleaning is needed.
Cracked or Stuck Screen Protector: How to Prevent Damage
With a cracked glass screen protector, control matters more than speed. First place a piece of clear tape over the cracks so loose splinters stay together more easily. If the damage is severe, thin gloves are advisable. Then try to free one edge and slide a plastic card underneath it. After that, gradually loosen the protector further instead of pulling it up in one motion. This spreads the tension across the surface and reduces the risk of extra pressure on the display. If the protector is especially firmly attached or continues to crack while you are removing it, work bit by bit along the edge. That takes slightly more time, but it helps prevent splinters and unnecessary stress on the screen.
Removing Stubborn Adhesive Residue Without Affecting Your Display
Older glass protectors can sometimes leave behind adhesive residue, especially after long-term use. Always start with a dry microfiber cloth. If haze or a sticky layer remains, use a small amount of screen-safe alcohol or display cleaner on the cloth, not directly on the screen. Avoid acetone, nail polish remover, aggressive cleaning products and hard scraping, as these can damage the coating. Stubborn spots should come loose gradually, never with metal tools. If you also want to freshen up the outside of your device afterwards, read more in Telefoonhoesje schoonmaken.
Film or Tempered Glass: Choose Your New Screen Protector Carefully
When replacing a protector, it is smart to first know the difference between film and tempered glass.
| Aspect | Film | Tempered glass |
|---|---|---|
| Screen feel | Thin, flexible and often less noticeable | Glass-like, smooth and sturdier |
| Protection | Good against scratches, less cushioning from impacts | More cushioning against everyday knocks and heavy scratches |
| Fingerprints | Signs of use often become visible sooner | Depends on the coating, but often feels cleaner |
| Removal | Comes off more easily, but can tear more quickly | Is more rigid and should be removed more carefully |
| Best choice | If flexibility and minimal visibility are important | If you want more rigidity and a classic glass feel |
Always choose a protector that fits your device and screen size exactly. A model-specific version for, for example, iPhone, Samsung or Galaxy Z makes more sense than a universal option. For extra protection for the screen and edges, book cases are a logical addition.
Curved, Edge-to-Edge and Foldable Screens Need Extra Precision
Curved and edge-to-edge screens build up tension along the edges more quickly. So loosen the protector slowly along the side, especially on devices such as the Samsung Galaxy S10 and S20. On a Galaxy Z Flip 3 or other foldable, extra precision is needed around the crease and hinge area; always check whether your device variant requires a specifically fitting model. Large screens, such as tablets, also require more control and are often safer to fit with two hands or with help during alignment.
Apply a New Screen Protector Without Dust or Air Bubbles
For a neat result, a fixed order helps, especially if you want to sort out your phone protection properly in one go:
- Work in a dust-free way: wash your hands, fully degrease the display and align the camera and speaker cutouts before the adhesive layer touches the screen.
- Lower the protector in a controlled way and smooth air bubbles outward from the centre or from one side with a card or cloth.
- If you see dust under the protector, remove it immediately with a sticker or tape. You can still press small remaining bubbles towards the edge later.
- Fitting it yourself is often fine for standard protectors. For more expensive or sensitive models, professional installation may be the better choice; the price varies by protector type and provider.
If your device has been exposed to moisture or condensation, read Telefoon nat geworden? Zo pak je het aan before fitting a new screen protector; trapped moisture can lead to bubbles or poor adhesion.
Ready to replace yours? Bekijk screenprotectors to quickly find the right fit for your device.